こんにちは!フロントエンドのR.Tです🍧
まだ夏ですね、あついですね。。
そんな今日は、サイトのファーストビューなどで使えるクールなcssアニメーションについて解説していきます!🙌
制作のきっかけ
動画作成ツールである、AfterEffectsからインスピレーションを受け制作してみました!
テキストアニメーションや、トランジションなど色々参考になって楽しいです🎉
完成例😶🌫️

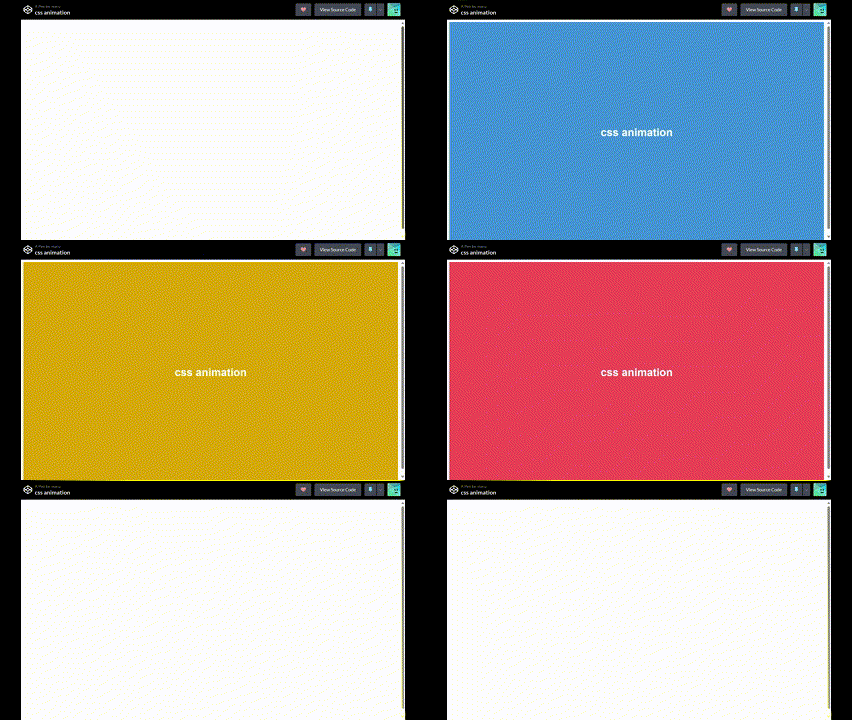
中央円形

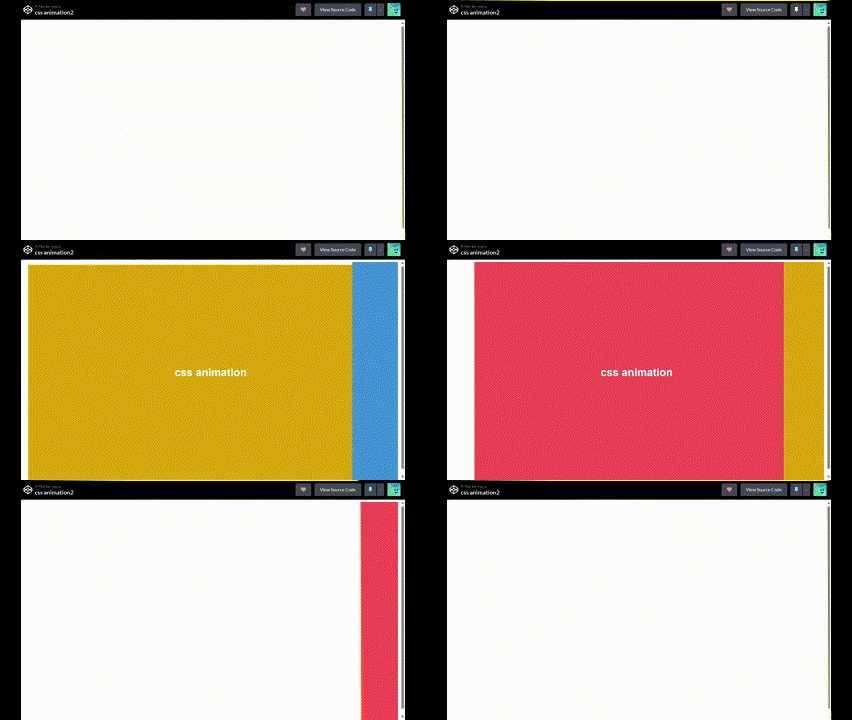
横スライド
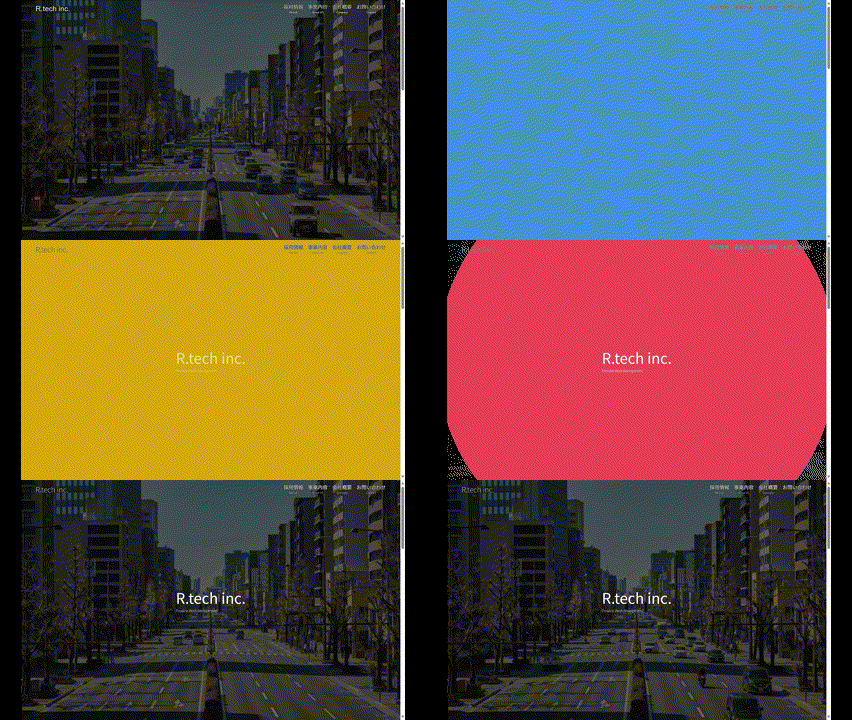
実際の使用例💡
サイトのファーストビューにて使用してみました!
このようにサイトのFV(ファーストビュー)を印象的なものにできます!

コード解説🗿
HTMLは以下のようにwrapで要素を包んで作成しています!
<div class="wrap">
	<div class="item1"></div>
	<div class="item2"></div>
	<div class="item3"></div>
	<h1>css animation</h1>
</div>
HTML
こちらはCSSです!
/* 🛸setting */
h1 {
	color: white;
}
.wrap {
	display: grid;
	place-items: center;
	height: 100vh;
	width: 100%;
	position: relative;
}

/* 🍧animation-items */

/* Bule */
.item1 {
	position: absolute;
	height: 100vh;
	width: 100%;
	background-color: #4192d9;
	animation: anima 1s forwards ease-in-out;
	z-index: -1;
}

/* Yellow */
.item2 {
	position: absolute;
	height: 100vh;
	width: 100%;
	background-color: #dba507;
	animation: anima 1.75s forwards ease-in-out;
	z-index: -2;
}

/* Pink */
.item3 {
	position: absolute;
	height: 100vh;
	width: 100%;
	background-color: #f54f57;
	animation: anima 2.75s forwards ease-in-out;
	z-index: -3;
}

@keyframes anima {
	0% {
		clip-path: circle(0);
	}
	80% {
		clip-path: circle(100%);
	}
	100% {
		clip-path: circle(0);
	}
}
css
div.wrapにposition: relative;を指定し、
.item1、.item2、.item3をposition: absolute;で固定していきます。
そしたらz-indexでitem達を、表示させたい順にします。
その後、@keyframes animaで要素の動きを制御していきます。
| 0% | clip-path: circle(0); | 中央からスタート |
| 80% | clip-path: circle(100%); | 画面端まで広がっていく |
| 100% | clip-path: circle(0); | 画面端から、中央に戻っていく |
最後に各item達にanimation: anima 各アニメーション時間(s) forwards ease-in-out;(※ショートハンドで記述しています)を指定したら完成🎈
まとめ⛳
以上、Javascriptなしで作る、CSSアニメーションでした!
紹介した以外にもいろいろできるので、ぜひ楽しんでください!
ちなみに、Javascriptでアニメーションを行う場合は、
GSAPでの実装だったり、AfterEffectsとLottieを組み合わせたモーションも効果的です!
ぜひ状況に合わせて使ってみてください!
